
Добавление Node.js сайта через обратный прокси в ServBay
ServBay — это комплексная локальная среда для веб-разработки с поддержкой различных технологических стэков, включая Node.js. В этом руководстве вы узнаете, как интегрировать уже работающий Node.js-приложение в систему управления сайтами ServBay с помощью функции обратного прокси. Такой подход позволит вам использовать единый вход ServBay (например, собственное доменное имя, SSL-сертификаты) для доступа и управления вашими проектами на Node.js.
Обзор
Хотя ServBay поддерживает непосредственный запуск приложений на Node.js (например, через установку Node.js из пакета ServBay и запуск скрипта), наиболее гибким способом интеграции является добавление уже запущенного на определённом порту Node.js приложения в ServBay как сайт через обратный прокси. Это позволяет воспользоваться сетевыми возможностями ServBay — такими, как настройка доменных имён и SSL/TLS-терминация — для организации доступа к вашему приложению на Node.js. В этом руководстве вы узнаете, как всё настроить.
Необходимые условия
Прежде чем начать, убедитесь, что:
- Вы успешно установили ServBay на macOS.
- Ваш проект на Node.js запущен локально и слушает определённый порт (например,
8585).
Пошаговая инструкция
Шаг 1: Запустите проект Node.js
Сначала убедитесь, что ваш Node.js-проект работает локально и слушает нужный порт. Запустите приложение удобным для вас способом.
Например, у вас запущен сервер разработки Vue.js на порту 8585:
bash
$ npm run dev -- --port 8585
Server running at http://localhost:8585/Обратите внимание на IP-адрес (обычно это 127.0.0.1) и порт, который использует ваше Node.js-приложение.
Шаг 2: Откройте панель управления ServBay
В каталоге приложений macOS найдите значок ServBay и дважды щёлкните для запуска программы.
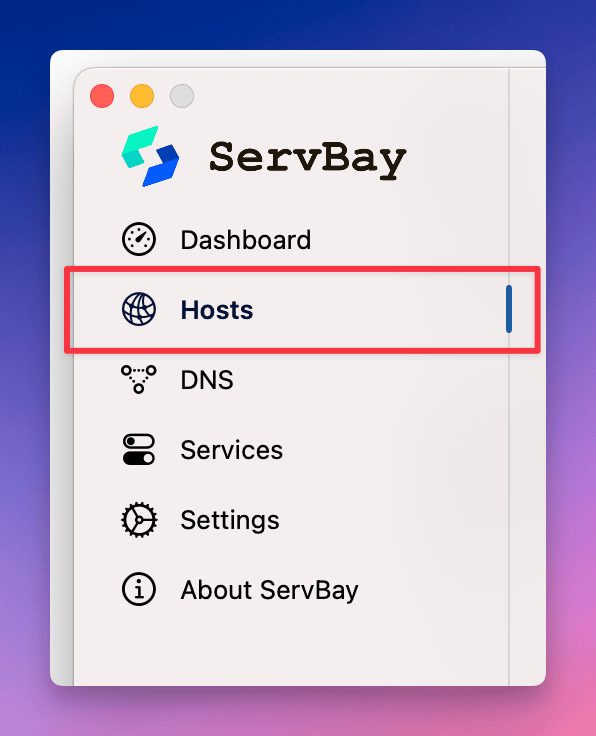
Шаг 3: Перейдите в управление сайтами
После запуска ServBay откроется главный интерфейс. В левом навигационном меню выберите пункт Сайты. Это приведёт вас на страницу управления сайтами, где вы сможете добавлять, просматривать и настраивать сайты, размещённые или проксируемые через ServBay.
Шаг 4: Добавление нового сайта
В нижней части страницы управления сайтами нажмите кнопку +. Откроется форма для ввода параметров нового сайта.
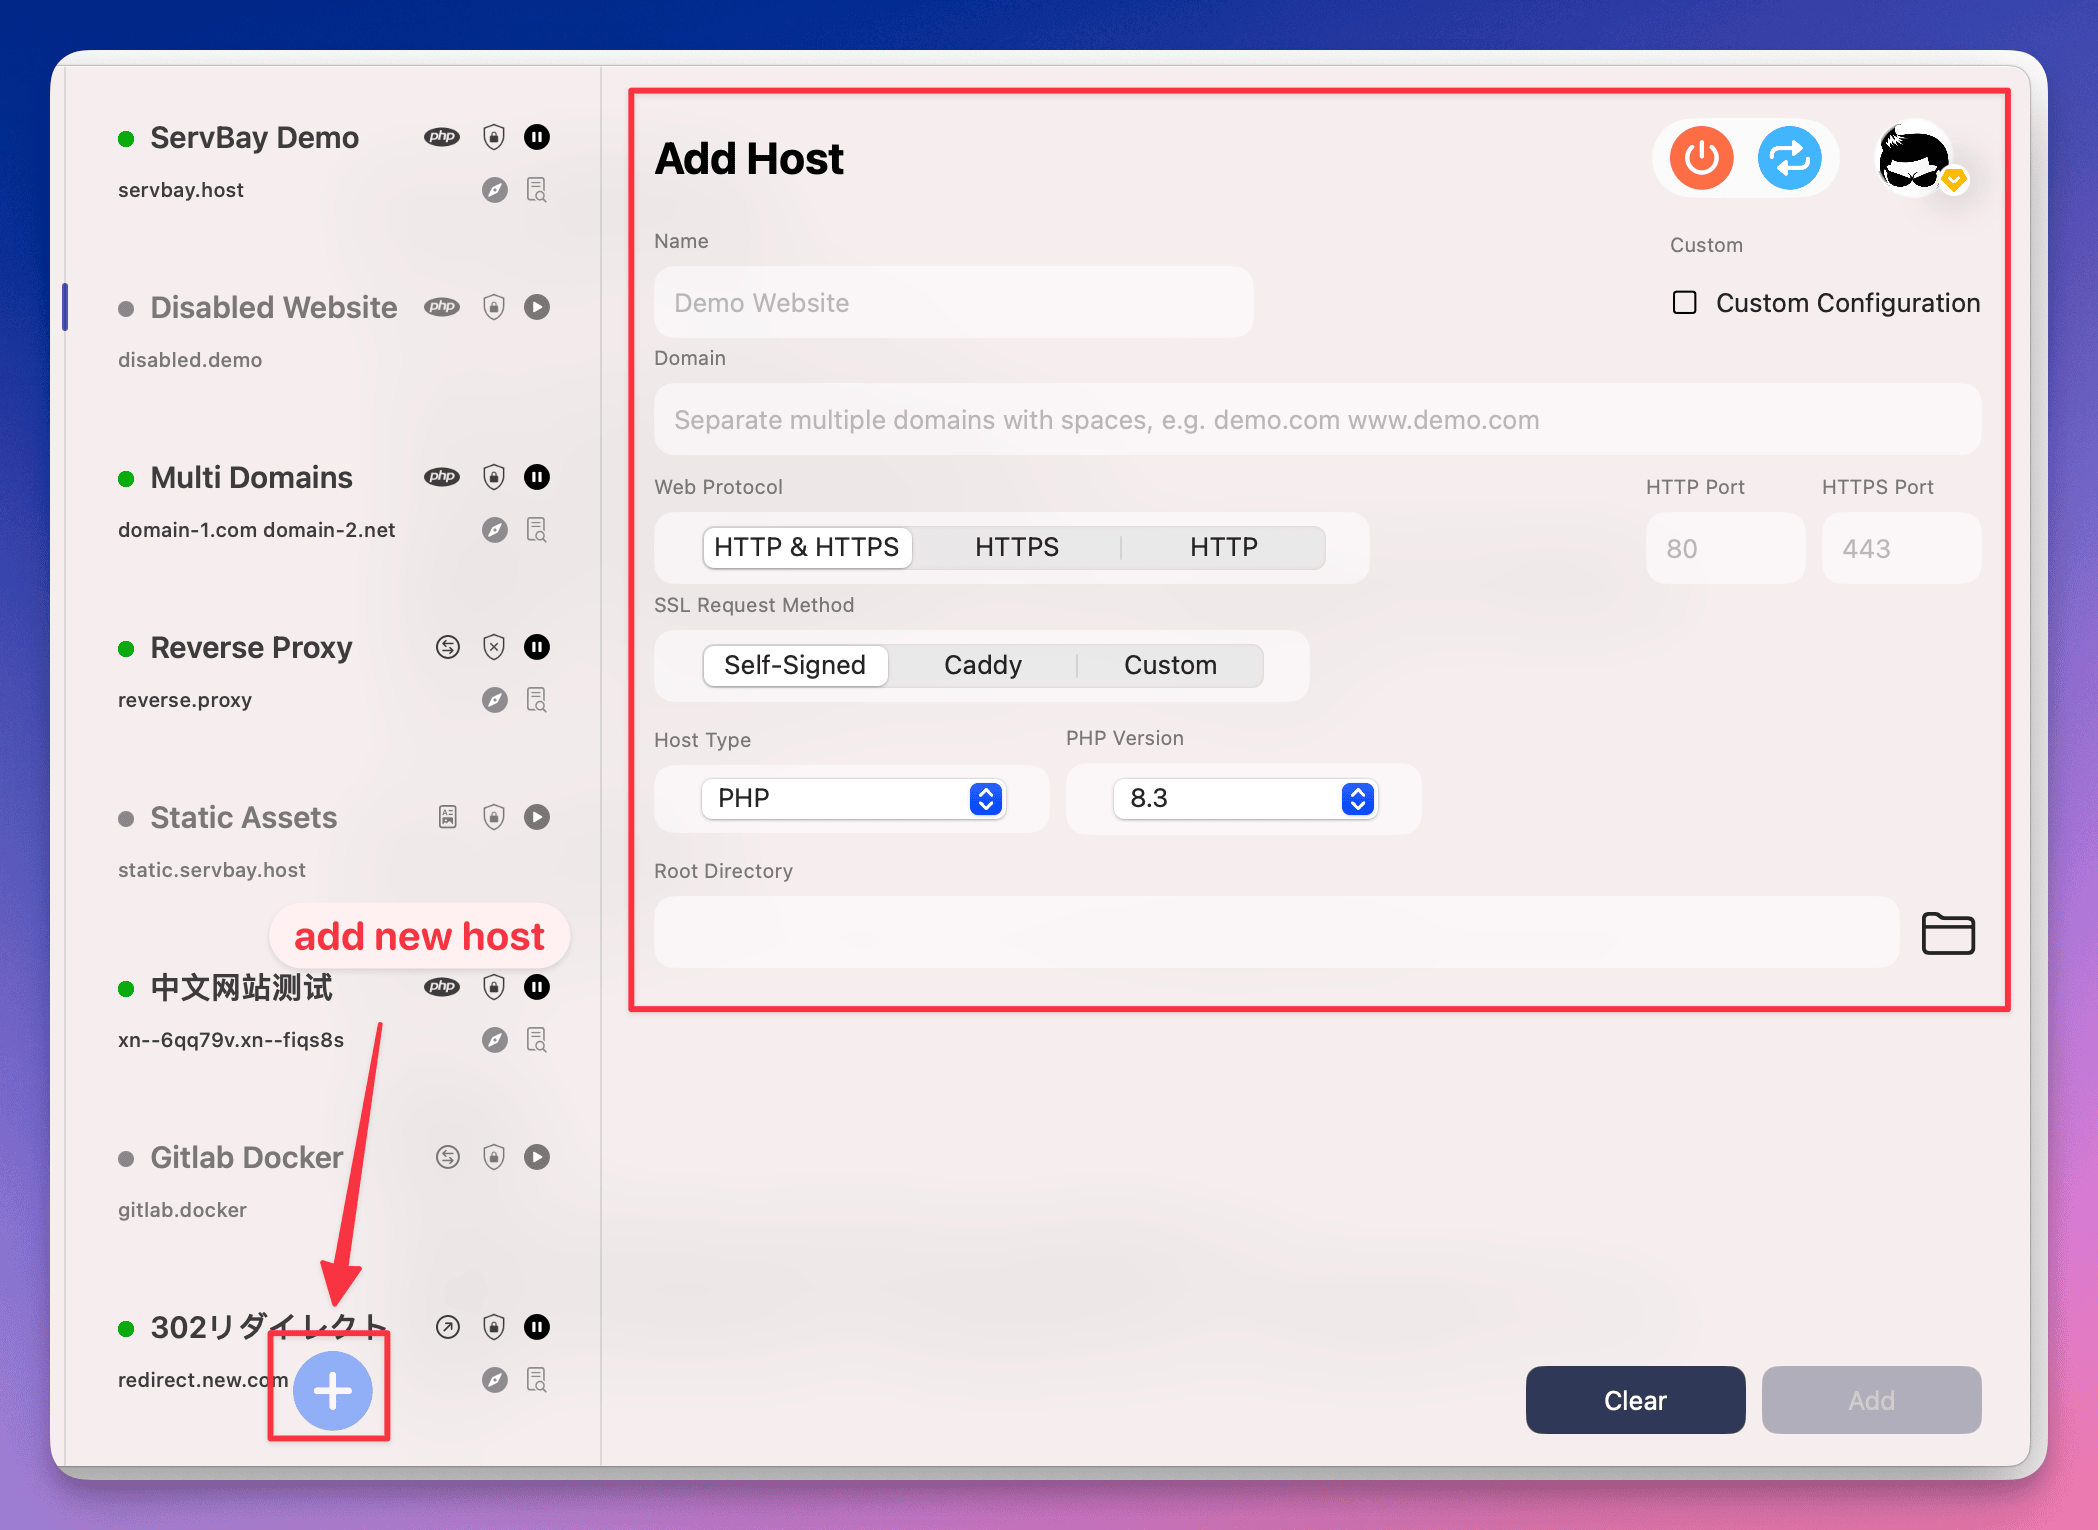
5: Настройка параметров сайта
Во вновь открывшейся форме обязательно заполните следующие поля для конфигурации обратного прокси:
- Имя (Name): Укажите удобное название для сайта, например,
My Node.js App. Это имя используется только для отображения в интерфейсе ServBay. - Домен (Domain): Введите локальный домен, по которому вы хотите обращаться к приложению через браузер. Рекомендуется использовать доменную зону
.servbay.demo, например,nodejs.servbay.demo. ServBay автоматически настроит локальный DNS, указывающий на127.0.0.1. - Протокол (Protocol): Выберите поддерживаемые протоколы сайта. Обычно достаточно оставить значения по умолчанию
HTTP/HTTPS. ServBay будет слушать оба порта. - Метод получения SSL-сертификата (SSL Certificate Method): Для локальной разработки рекомендуется выбрать
ServBay CA. ServBay автоматически сгенерирует и установит SSL-сертификат, подписанный своим корневым центром сертификации. После установки корневого сертификата ServBay в систему и браузер вы сможете посещать сайт по HTTPS без предупреждений о сертификате. Возможны также вариантыServBay Public CAилиACME(для выпуска общедоверенных сертификатов), но они актуальны для сайтов с внешним доступом. - Тип сайта (Site Type): Обязательно выберите вариант
Reverse Proxy (Обратный прокси). Так вы укажете ServBay, что все запросы к этому домену следует перенаправлять на другой адрес, а не обслуживать с локальной файловой системы. - IP-адрес (IP Address): Укажите IP-адрес, на котором слушает ваше Node.js-приложение. Для локального запуска обычно это
127.0.0.1. - Порт (Port): Укажите порт, на котором запущено Node.js-приложение, например,
8585. ServBay будет проксировать запросы на127.0.0.1:8585.
Шаг 6: Сохраните настройки
После заполнения всех необходимых данных нажмите кнопку Добавить (Add) внизу формы. ServBay сохранит ваши настройки и автоматически обновит необходимые внутренние конфигурации (например, параметры веб-сервера и DNS).
Если всё успешно, новый сайт nodejs.servbay.demo появится в списке ServBay. Теперь открыть ваш Node.js-проект можно, просто введя его домен в браузере (например, http://nodejs.servbay.demo или https://nodejs.servbay.demo). Для быстрого запуска можно воспользоваться значком браузера рядом с именем сайта.
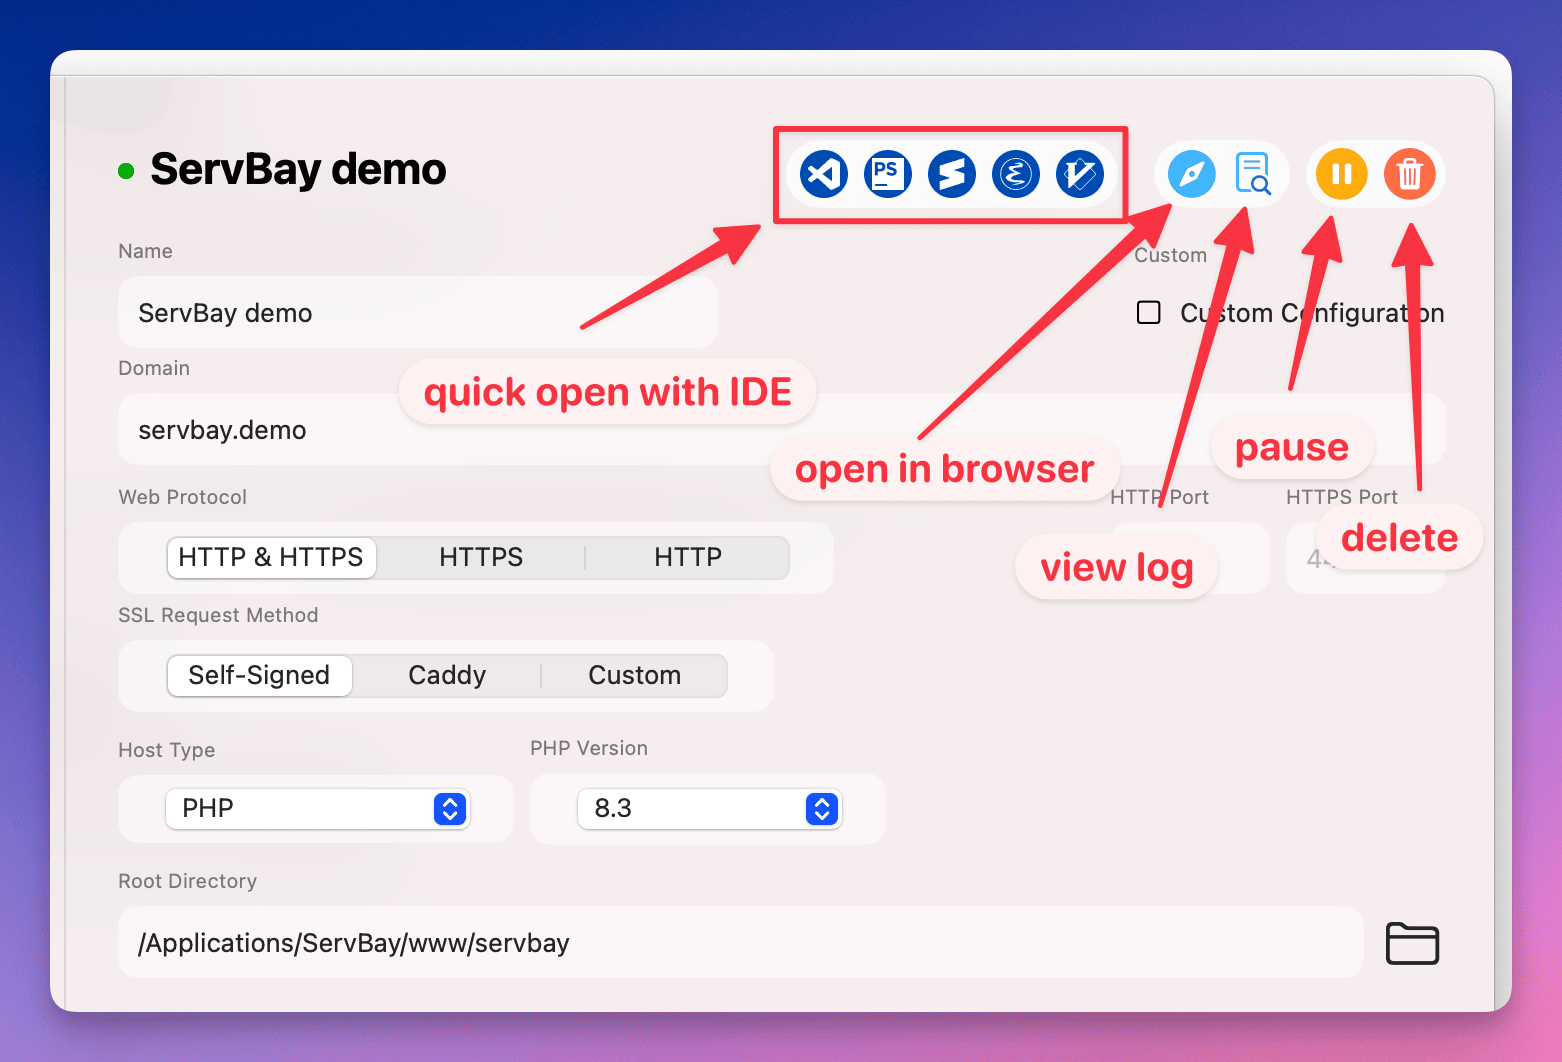
Шаг 7: Быстрые действия
ServBay предоставляет ряд удобных кнопок быстрого доступа для каждого сайта в списке (справа от имени):
- Открыть корневую папку сайта в IDE: Для обратного прокси эта кнопка может вести не к директории вашего Node.js-проекта, а в стандартную папку ServBay, например
/Applications/ServBay/wwwлибо другую, указанную в настройках. - Открыть сайт в браузере: Мгновенно открыть сайт по нужному адресу в браузере по умолчанию.
- Посмотреть логи сайта: Посмотреть access- и error-журналы веб-сервера (например, Caddy или Nginx), связанные с этим сайтом. Это полезно, если нужно отладить работу прокси.
- Остановить/запустить сайт: Временно отключить или вновь включить доступ к сайту.
- Удалить сайт: Удалить конфигурацию сайта из ServBay.
Часто задаваемые вопросы (FAQ)
- Вместо сайта открывается страница по умолчанию ServBay или появляется ошибка?
- Проверьте, что ваше Node.js-приложение действительно работает на указанном IP и порту.
- Убедитесь, что настройки IP и порта сайта в ServBay полностью соответствуют настройкам вашего Node.js сервера.
- Проверьте, что сам ServBay запущен.
- Если вы используете домен
.servbay.demo, убедитесь, что DNS-служба ServBay работает и ваш компьютер разрешает этот домен через ServBay.
- При доступе по HTTPS появляется предупреждение о сертификате?
- Если выбран метод
ServBay CA, убедитесь, что вы установили и доверяете корневому сертификату ServBay в системе и браузере. В ServBay есть удобный помощник для установки сертификата. - Если выбран
ServBay Public CAилиACME, удостоверьтесь, что сертификат корректно выпущен и установлен для этого сайта.
- Если выбран метод
Итоги
С помощью функции обратного прокси ServBay предоставляет гибкий механизм интеграции и управления локальными проектами на Node.js. Вы сможете использовать мощные возможности веб-сервера ServBay — свои домены, автоматическое управление SSL-сертификатами — и получить единый способ доступа ко всем вашим Node.js-проектам. Следуя инструкции из этого руководства, вы сможете быстро подключить и открыть ваш Node.js сайт в локальной среде ServBay.
