
Local SSL Root Certificate (CA) Management
In the modern network environment, SSL certificates are an important tool to ensure the security of data transmission. For developers and users, managing local SSL root certificates (CA) is a crucial step to secure custom services and websites. This article will describe how to manage ServBay's local CA—ServBay Local CA - 2023 ECC Root on macOS and resolve potential certificate errors.
What is ServBay Local CA?
ServBay Local CA is a local Certificate Authority (CA) that issues trusted domain SSL certificates for websites (hosts) added by users on ServBay. This CA is automatically generated and installed on the user's system when they install ServBay, ensuring that users can use secure HTTPS connections during local development and testing.
How to find ServBay Local CA?
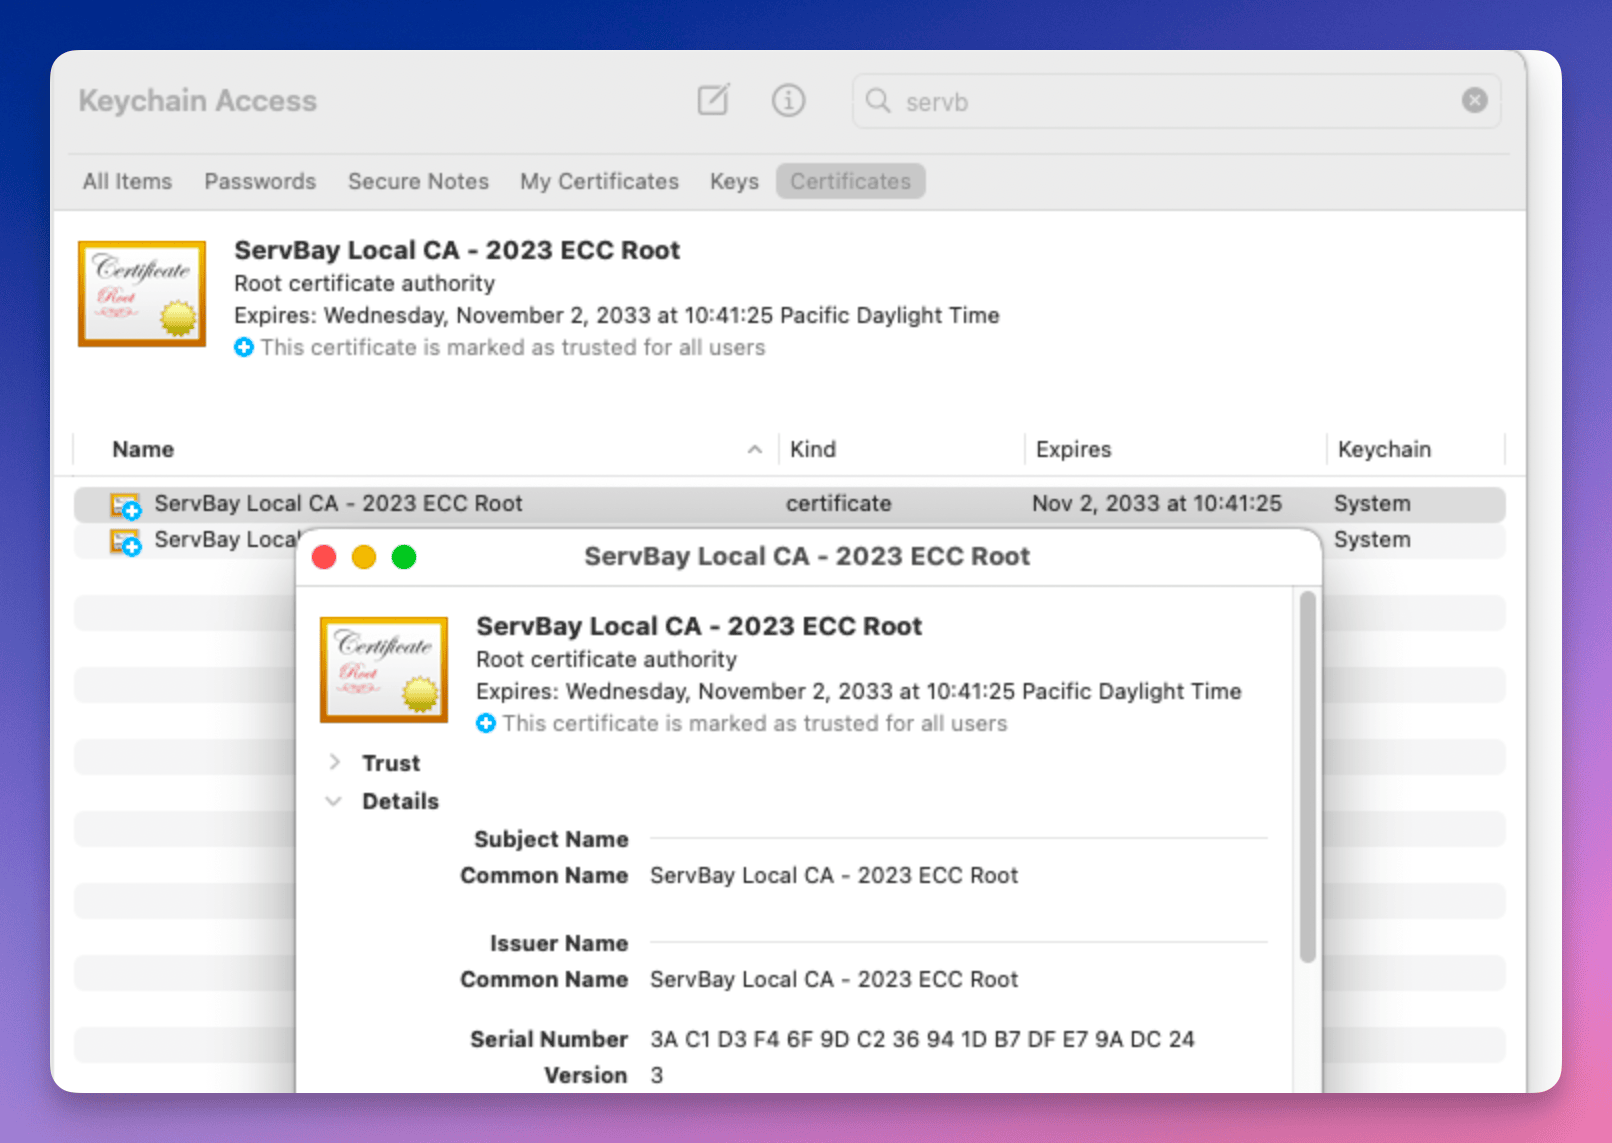
On macOS, users can find ServBay Local CA through the 'Keychain Access' tool. The specific steps are as follows:
- Open 'Keychain Access', which can be found by searching for
Keychain Accessin Spotlight. - Select the
Systemkeychain in the left sidebar. - Enter
ServBay Local CA - 2023 ECC Rootin the search bar. - Find the certificate in the search results and double-click to view detailed information.
Resolving Certificate Errors
If users encounter certificate errors when using websites added by ServBay, it is likely due to incorrect installation of ServBay Local CA. Users can reinstall or delete the CA certificate through the following steps:
Reinstalling ServBay Local CA
- Open the ServBay application.
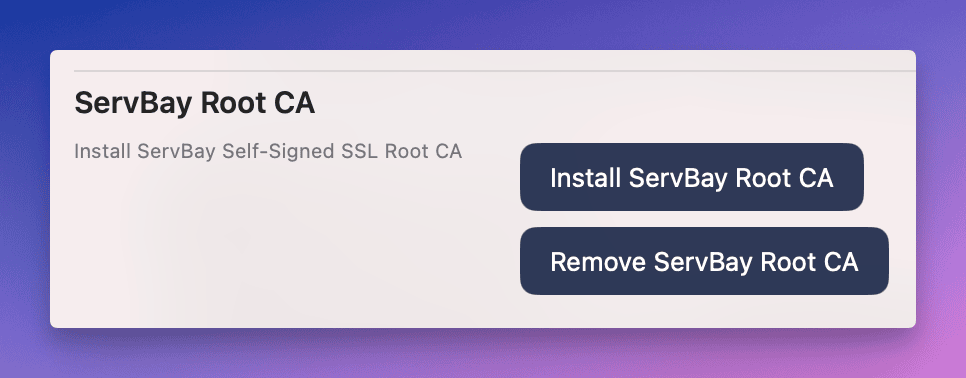
- Go to the management panel and select the
Servicesoption. - Find the
ServBay Root CAoption. - Click the
Deletebutton, then theInstallbutton, and follow the prompts to complete the reinstallation process.
Deleting ServBay Local CA
If reinstalling does not solve the problem, users can try deleting the existing CA certificate and then reinstalling:
- Open 'Keychain Access'.
- Find the
ServBay Local CA - 2023 ECC Rootcertificate. - Right-click the certificate and select
Delete. - Confirm the deletion operation.
- Follow the above reinstallation steps to reinstall ServBay Local CA.
Summary
By properly managing ServBay Local CA, users can ensure the use of secure HTTPS connections in the local development and testing environment. Reinstalling or deleting the CA certificate is a common solution when encountering certificate errors. Hopefully, this article can help you better manage local SSL root certificates, improving development efficiency and security.