
ServBay Installation Guide: Rapid Local Web Development Setup
ServBay is a local web development environment tool designed specifically for developers, aimed at simplifying the setup and management process of multiple tech stacks (such as PHP, Node.js, Python, Go, Java, Ruby, Rust, etc.) and databases (including MySQL, PostgreSQL, MongoDB, Redis) on macOS and Windows. One of ServBay’s core strengths is its extremely simple and fast installation process.
Compared to other similar tools, ServBay has a compact installer (typically just 20MB), and the entire installation and initialization sequence requires only a few clicks, finishing within minutes so you can jump straight into your development work.
Video Tutorial
This video tutorial walks you through the installation steps for ServBay. You can also go directly to YouTube to watch.
Important Notes & Prerequisites
ServBay supports macOS and Windows.
Before you install and initialize ServBay, please pay attention to the following points:
Port Conflicts: System ports are unique resources, with only one process able to use a port at a time. Core services required by ServBay (such as the web server and databases) need certain ports to run. To ensure ServBay launches and runs correctly, make sure to stop any programs that may already be using ServBay's required ports before installation. Common ports likely to have conflicts:
- Web server ports: 80 (HTTP), 443 (HTTPS) (frequent offenders: Apache, Nginx, Caddy, other local web servers)
- MySQL/MariaDB database port: 3306
- PostgreSQL database port: 5432
- MongoDB database port: 27017
- Redis service port: 6379
- DNS service port: 53 (frequent offenders: dnsmasq, other local DNS services)
Check port usage:
- macOS/Linux:
lsof -i :[port number](e.g.lsof -i :80) - Windows:
netstat -ano | findstr :[port number](e.g.netstat -ano | findstr :80)
Download the ServBay Installer
Get the latest ServBay installer from the official website download page. The installer is very lightweight and downloads quickly.
Visit the ServBay Download Page and choose the installer for your system:
macOS
Download the .dmg installer, usually named in the format ServBayInstaller-vX.Y.Z.dmg.
Windows
Download the .exe installer, typically named as ServBayInstaller-vX.Y.Z.exe.
Here, X.Y.Z refers to the specific version number.
Installing ServBay
Once downloaded, follow these steps to proceed:
macOS Installation Steps
- Double-click the downloaded
.dmginstaller file (e.g.ServBayInstaller-v1.12.0.dmg). The system will mount the disk image and open an installation window. - In the window, you’ll see the ServBay.app icon and a shortcut to the Applications folder. Drag the ServBay.app icon into the Applications folder to complete the installation.
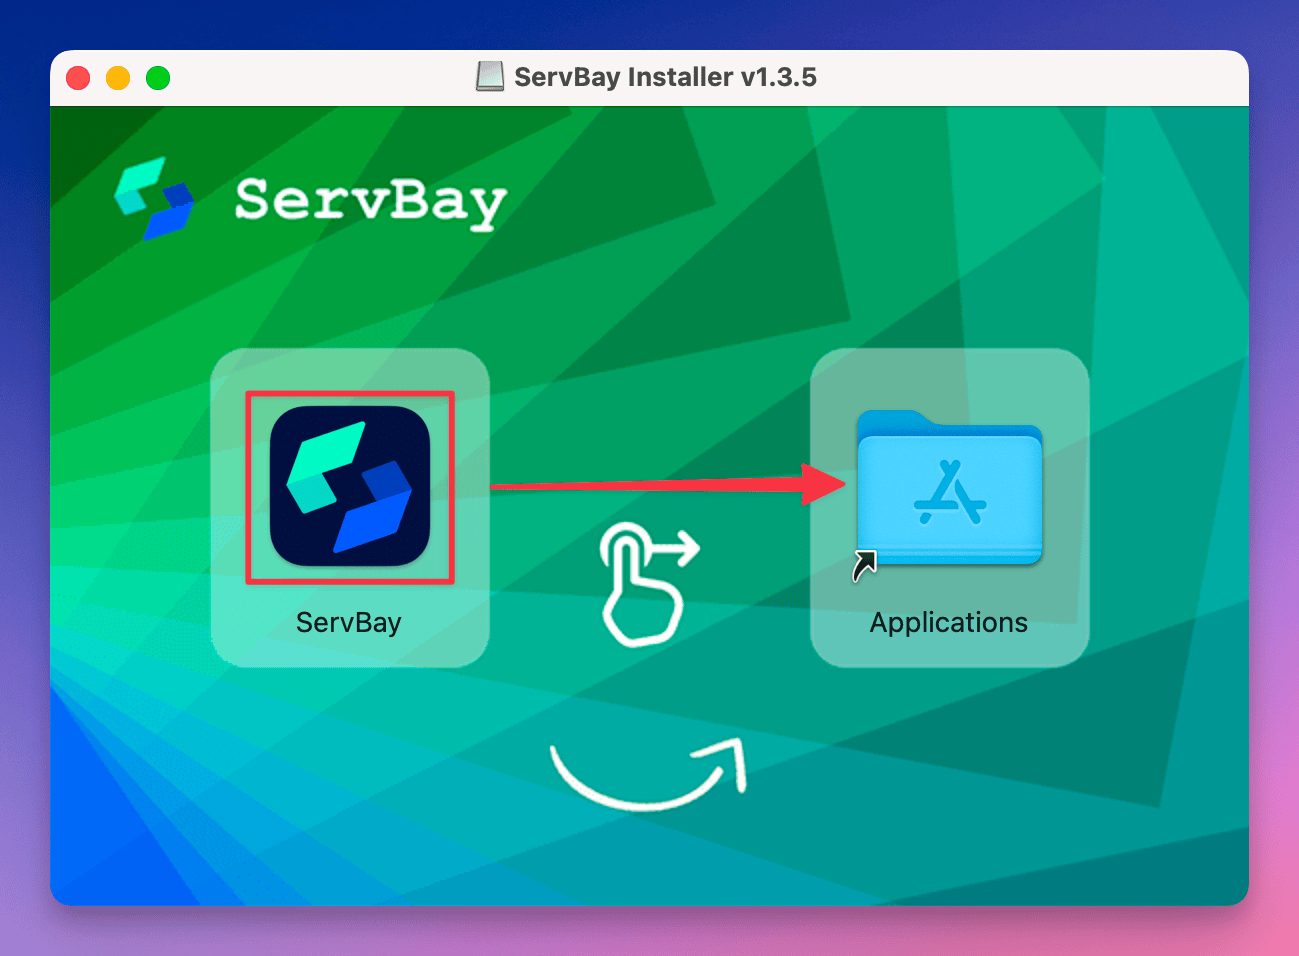
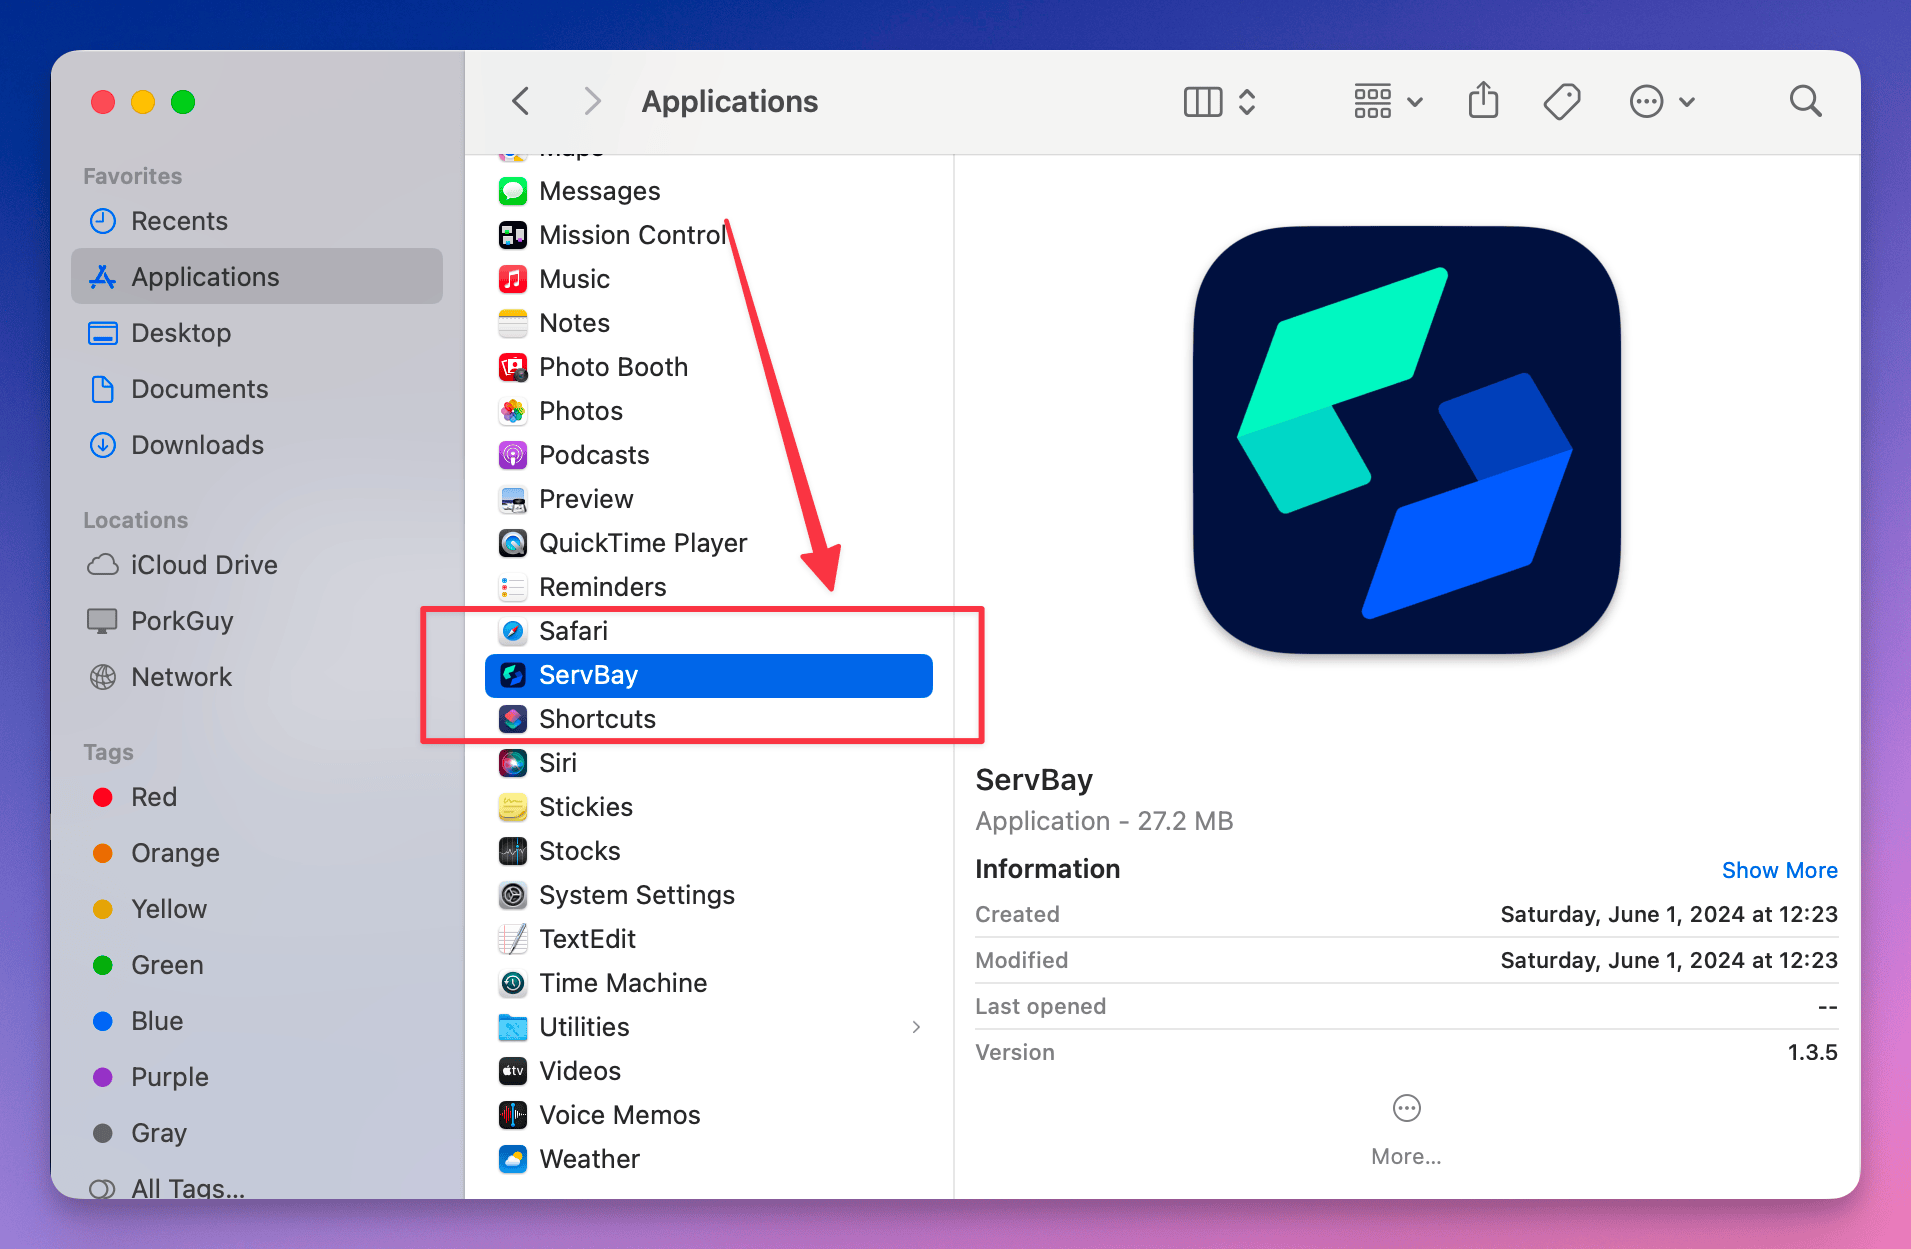
- After installation, open your macOS Applications folder, locate and double-click the ServBay icon to launch the program.
Windows Installation Steps
- Double-click the downloaded
.exeinstaller (e.g.ServBayInstaller-v1.12.0.exe). - Follow the prompts in the installation wizard.
- It's recommended to install to
C:\ServBay—this helps with optimal performance and simplifies management. - Once installed, launch ServBay from the Start menu or the desktop shortcut.
Windows Version Highlights:
- Built on the .NET 9 framework for high-performance runtime
- No initialization needed after installation—ready to use
- Nginx and PHP come pre-installed by default; other packages can be installed as needed
- Most macOS features are already implemented on Windows, with rapid updates closing the gap
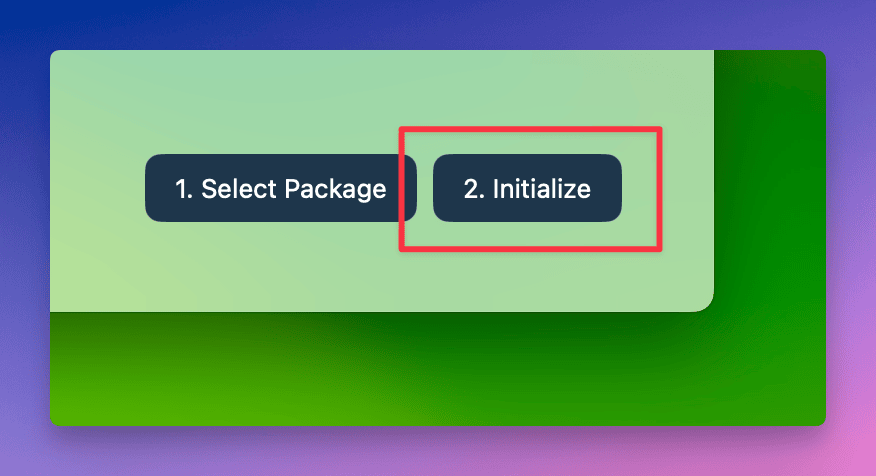
Initializing ServBay
macOS Initialization Process
On its first launch, the macOS version requires initial setup. Based on your choices, the necessary packages will be downloaded and configured.
Windows Launch
The Windows version requires no initialization—just start using it after installation. The system comes pre-configured with Nginx and PHP, so you can jump straight into development.
Ensure all required ports are free before launching ServBay.
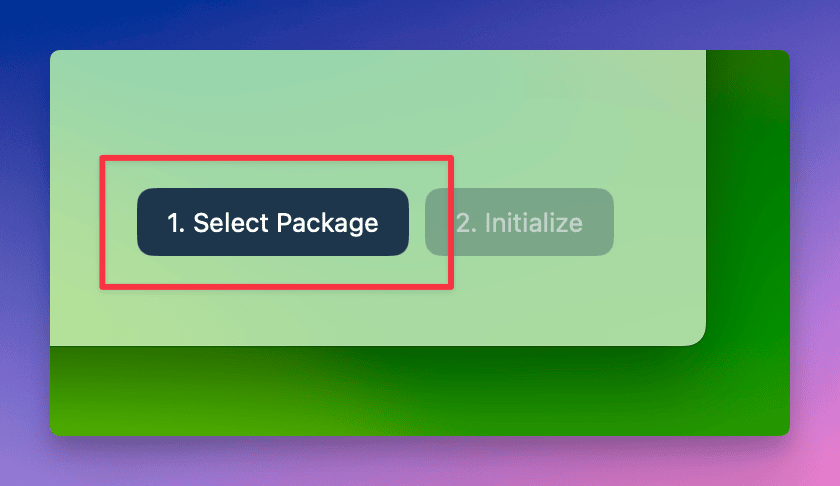
ServBay offers a clean, intuitive initialization interface:

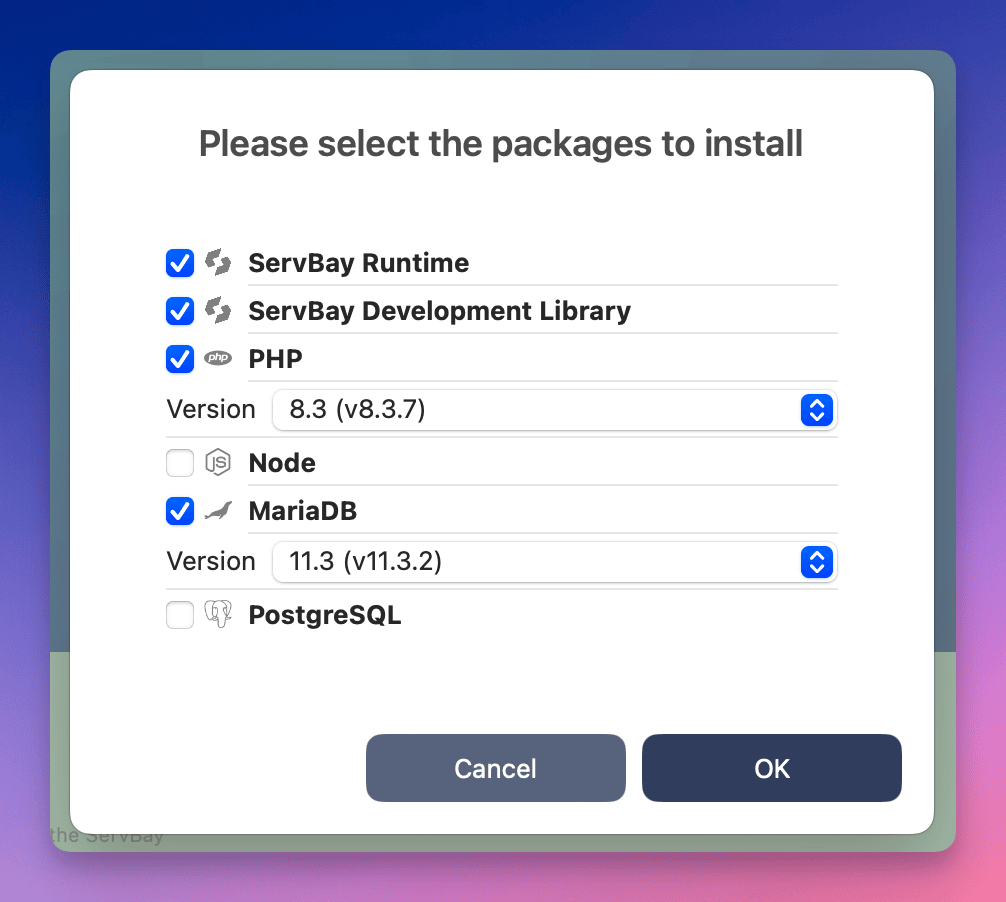
Select your role: On the left, choose a role that best matches your primary development needs, such as "Web Developer," "Full Stack Developer," "PHP Developer," etc.
View the default package bundle: After selecting a role, the right side displays ServBay’s recommended package combination for that role, typically including the default web server (e.g. Nginx), ServBay runtime, and language environments (like PHP, Python). Review these default selections.
Start Installation: Confirm your role and package selection, then click the
Start Installationbutton at the bottom right to begin.Authorization Requests: After clicking "Start Installation," ServBay will request administrator privileges to install required system components:
- macOS: The system prompts for your user password to install the
ServBay Helpertool - Windows: A UAC (User Account Control) dialog might pop up—click "Yes" to authorize
These components are necessary for managing services, handling permissions, and port bindings. Authorization is required; otherwise ServBay won’t be able to start, manage packages, or host sites properly.
- macOS: The system prompts for your user password to install the
Wait for installation: Please wait as ServBay downloads, installs, and configures the packages. This may take a few minutes, depending on how many you chose and your network speed.
Access the main dashboard: After initialization, you’ll be taken to ServBay’s main control panel, where you can view statuses of installed packages.
Congratulations! ServBay is now installed and initialized.
Accessing the Demo Site & Management Tools
ServBay creates a default demo site and integrates popular database management tools (phpMyAdmin, Adminer), along with a PHP info page (phpinfo), making it easy to verify installation and manage your databases.
ServBay Directory Structure
ServBay’s default website root directory is located at:
- macOS:
/Applications/ServBay/www - Windows:
C:\ServBay\www
The demo site and tools are stored in this folder. You can also develop your own projects by adding subfolders here.
- Open your web browser and visit: https://servbay.host
- Alternatively, use ServBay’s left sidebar under the
Sitesmenu to find theservbay.hostentry and click the visit icon.
- Alternatively, use ServBay’s left sidebar under the
- On the demo site page, you’ll easily find links to phpMyAdmin, Adminer, and other management tools.
With that, you’ve successfully installed and initialized ServBay, and learned how to access the default demo site and management tools. You’re now ready to set up and configure your own development projects!
