
ServBayでphpMyAdminを使ったMySQL/MariaDBデータベース管理
概要:phpMyAdminとは
phpMyAdminは、MySQLやMariaDBデータベースをWebインターフェースから管理できる広く使われているオープンソースのデータベース管理ツールです。Web開発者にとって、直感的で使いやすいグラフィカルUIを提供し、データベースやテーブル、ユーザーの作成、SQLクエリの実行、データのインポート・エクスポートなど、日常的な管理作業を大幅に簡素化します。
ServBayは、強力なローカルWeb開発環境としてphpMyAdminを標準搭載しており、ServBay内で稼働中のMySQLまたはMariaDBデータベースを手軽に管理できます。
phpMyAdminの主なメリットは以下の通りです:
- 多機能:MySQLとMariaDBの主要機能をほぼ網羅し、データベース・テーブル・フィールド・インデックス・ユーザー権限など様々な管理ニーズに対応。
- ユーザーフレンドリー:見やすく分かりやすいグラフィカルUIで、初心者でもすぐに使い始められます。
- 多言語対応:多数の言語UIを備え、世界中のユーザーが利用可能。
- 拡張性:プラグインやスクリプトによる機能拡張もサポート。
phpMyAdminを利用すれば、開発者はコマンドラインによる煩雑な作業から解放され、アプリケーションのロジック開発に集中できます。
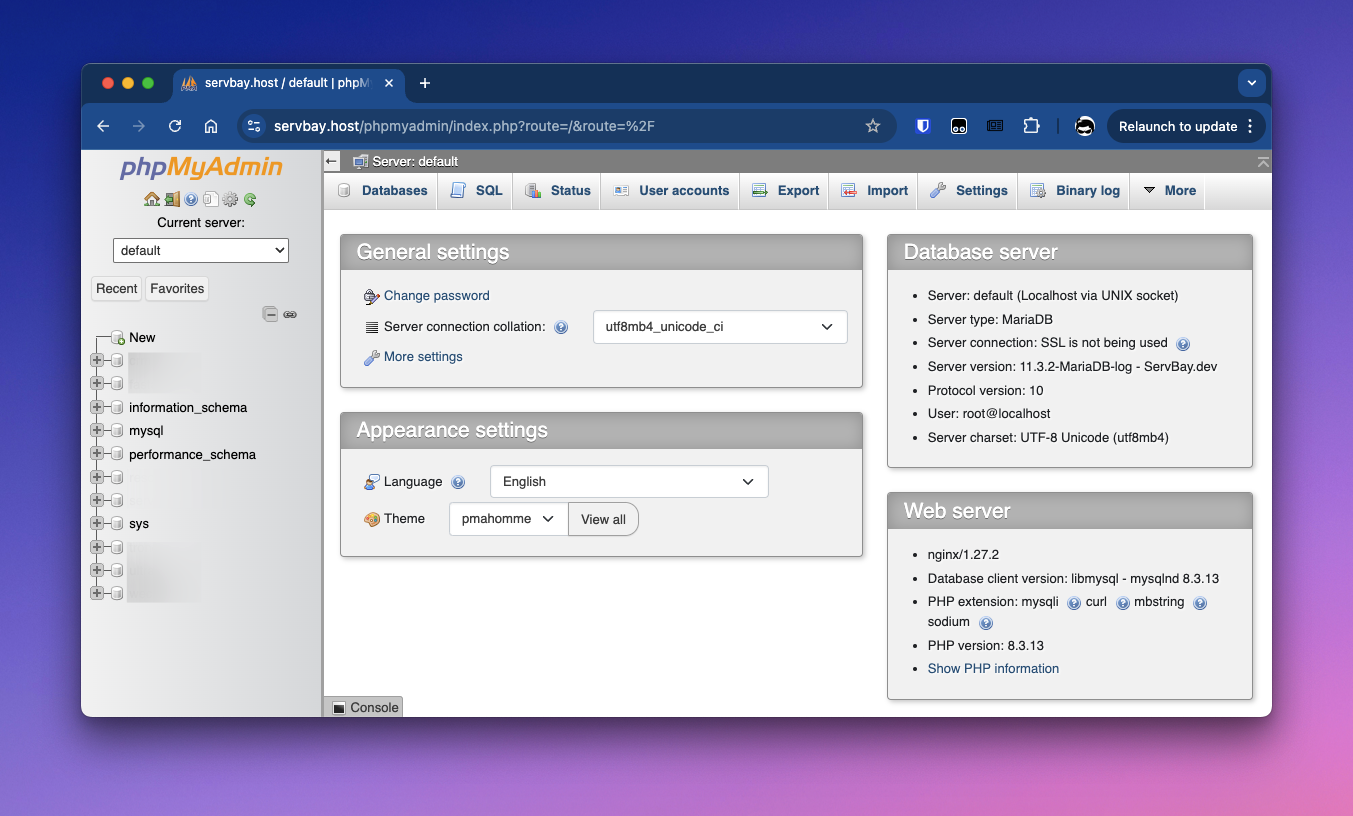
ServBay搭載のphpMyAdminへのアクセス
ServBayにはphpMyAdminが標準搭載されており、ServBayが提供するローカルアクセスURLから簡単に利用できます。
ServBayを起動した状態でWebブラウザを開き、以下のURLにアクセスしてください:
https://servbay.host/phpmyadmin
注意事項:servbay.hostはServBayのデフォルトローカルドメインです。ServBayが内蔵するCaddy/Nginxサーバーにより、ServBayのウェルカムページおよびツール(phpMyAdmin等)が表示されます。ServBayが稼働中で、関連Webサーバー(CaddyまたはNginx)、データベースパッケージ(MySQLやMariaDB)が有効になっていることを確認してください。
phpMyAdminへのログイン
データベース管理を始めるには、正しい認証情報でphpMyAdminにログインします。
- ブラウザを開く:phpMyAdminのURL
https://servbay.host/phpmyadminにアクセスします。 - 接続情報を入力:ログイン画面で、ユーザー名・パスワードを入力してください。
- ユーザー名とパスワード:ServBayアプリのデータベース (Databases) タブで、デフォルトのデータベースユーザー(通常は
root)とパスワードを確認できます。セキュリティのため、初回使用後はrootのパスワードを変更しましょう。 - サーバー:通常は
default、または接続したい特定のデータベースバージョン(例:MariaDB-10.6またはMySQL-8.0)を入力します。defaultはServBayで現在有効なデータベースを指します。
- ユーザー名とパスワード:ServBayアプリのデータベース (Databases) タブで、デフォルトのデータベースユーザー(通常は
- ログイン:「ログイン」ボタンをクリックすると、phpMyAdmin管理画面に入ります。
ServBayデータベースの管理方法(phpMyAdmin)
phpMyAdminにログインすると、様々なデータベース管理操作がグラフィカルインターフェースから行えます。主な操作手順を紹介します。
新しいデータベースの作成
新しいプロジェクト用に独立したデータベースを作成するのは一般的なスタートです。
- phpMyAdmin左側のナビゲーションで新規作成または中央のデータベースタブをクリック。
- 「データベース作成」エリアで希望するデータベース名(例:
servbay_project_db)を入力します。 - 「照合順序」ドロップダウンで適切な文字セットと照合方法を選択。通常は
utf8mb4_unicode_ci推奨(絵文字など幅広い文字に対応)。 - 作成ボタンをクリック。
新しいテーブルの作成
データベース作成後、データ構造の定義としてテーブルを作成します。
- 左側ナビから作成したデータベース名をクリック。
- データベース構造画面で「新規テーブル作成」エリアを探します。
- テーブル名(例:
users)と必要なフィールド数を入力。 - 作成ボタンをクリック。
- 新しいページで各フィールド属性を定義します。例えば:
- 名前:フィールド名(例:
id,username,email,created_at) - 型:データ型(例:
INT,VARCHAR,TEXT,DATETIME) - 長さ/値:データ型に応じて長さを設定(例:
VARCHAR(255)) - 既定値:デフォルト値(任意)
- インデックス:主キー(PRIMARY)、一意キー(UNIQUE)、索引(INDEX)など。主に
idフィールドをPRIMARYおよびAUTO_INCREMENTにします。 - A_I:自動増分(主キーでよく使われます)を有効にします。
- 名前:フィールド名(例:
- 全フィールドの定義が終わったらページ下部の保存をクリック。
データ登録(挿入)
テーブルに新しいレコードを追加します。
- 左ナビでデータ挿入したいテーブルを選択。
- 上部メニューの挿入タブをクリック。
- 登録したいデータ値を入力。複数行の挿入も可能です。
- ページ下部の実行ボタンをクリック。
データの参照・クエリ実行
テーブル内データの確認や、カスタムクエリの実行も可能です。
- 左ナビから参照したいテーブルを選択。
- 上部メニューの表示タブをクリックすると、前数行のデータが表示されます。
- 複雑なクエリを実行する場合は、SQLタブでSQL文(例:
SELECT * FROM users WHERE username = 'servbay-demo';)を入力し、実行をクリック。
データの更新
既存レコードの値を変更します。
- 左ナビで更新対象のテーブルを選択。
- 表示タブから編集したいデータ行を探します。
- 該当行の横にある編集アイコン(通常は鉛筆)をクリック。
- 対象フィールドの値を編集。
- ページ下部の実行で変更を保存します。
データの削除
テーブルから不要なレコードを削除します。
- 左ナビで削除したいテーブルを選択。
- 表示タブで削除するデータ行を選びます。
- 削除対象行の左のチェックボックスにチェック。
- 複数行の一括削除も可能です。
- 行横の削除アイコン(通常はバツ)、または複数選択後にページ下部で削除操作を選び実行をクリック。
- 削除確認ダイアログで確定します。
テーブルの削除
特定のデータテーブルとその全データを完全に削除します。
- 左ナビで対象テーブルのあるデータベースを選択。
- データベース構造画面から削除するテーブルを探す。
- テーブル名左のチェックを入れる。
- テーブルリスト下部の削除操作を探して実行をクリック。
- 操作確認画面が表示されます。テーブル削除は全データも永久消去されるので注意してください。
データベースの削除
指定のデータベースと含まれる全テーブル・データを消去します。
- 左ナビから削除するデータベースを選択。
- 上部メニューの操作タブをクリック。
- ページ下部の「データベースの削除」エリアでデータベース削除ボタンを選択。
- 確認ダイアログで操作を確定。データベース削除は元に戻せませんので注意が必要です。
よくある質問(FAQ)
- Q:
https://servbay.host/phpmyadminにアクセスできません。なぜですか?- A:ServBayが起動中で、コントロールパネルのWebサーバー(CaddyまたはNginx)、接続したいデータベースパッケージ(MySQLやMariaDB)が有効になっているか確認してください。さらに、システムのhostsファイルが他プログラムにより変更されていないか、ServBayの再起動も試してみてください。
- Q:データベースのユーザー名とパスワードはどこで確認できますか?
- A:デフォルトのrootユーザーパスワードはServBayアプリのデータベース (Databases) タブで確認できます。詳しくは データベースのrootアカウント情報と接続方法 を参照してください。
- Q:rootパスワードを忘れたらどうすればいいですか?
- A:ServBayはrootパスワードのリセット機能を提供しています。アプリのデータベース (Databases) タブでリセットボタンが見つかります。クリックすると、対象データベース(MySQLやMariaDB)の新しいrootパスワードが生成・表示されます。
- Q:phpMyAdminでServBay内のPostgreSQLやMongoDBに接続できますか?
- A:phpMyAdminはMySQL・MariaDB専用であり、PostgreSQLやMongoDBとの互換性はありません。
まとめ
ServBay搭載のphpMyAdminを活用することで、ローカル開発環境のMySQLやMariaDBデータベースを効率的で直感的に管理できます。データベースやテーブルの作成・削除、データの挿入・検索・更新・削除まで、グラフィカルUIにより作業の複雑さを大幅に軽減。ServBayの環境管理機能と組み合わせれば、Webアプリの開発・デバッグがよりスムーズに進められます。
