
Configuring the Caddy Web Server
ServBay integrates the modern Caddy Web Server, well-known for its simple configuration and automatic HTTPS features. With ServBay’s graphical interface, you can easily adjust Caddy’s global settings.
Accessing Caddy Settings
- Open the ServBay application.
- In the left navigation bar, click on
Web Server. - Select the
Caddytab.
You will see the main Caddy configuration interface, as shown below:
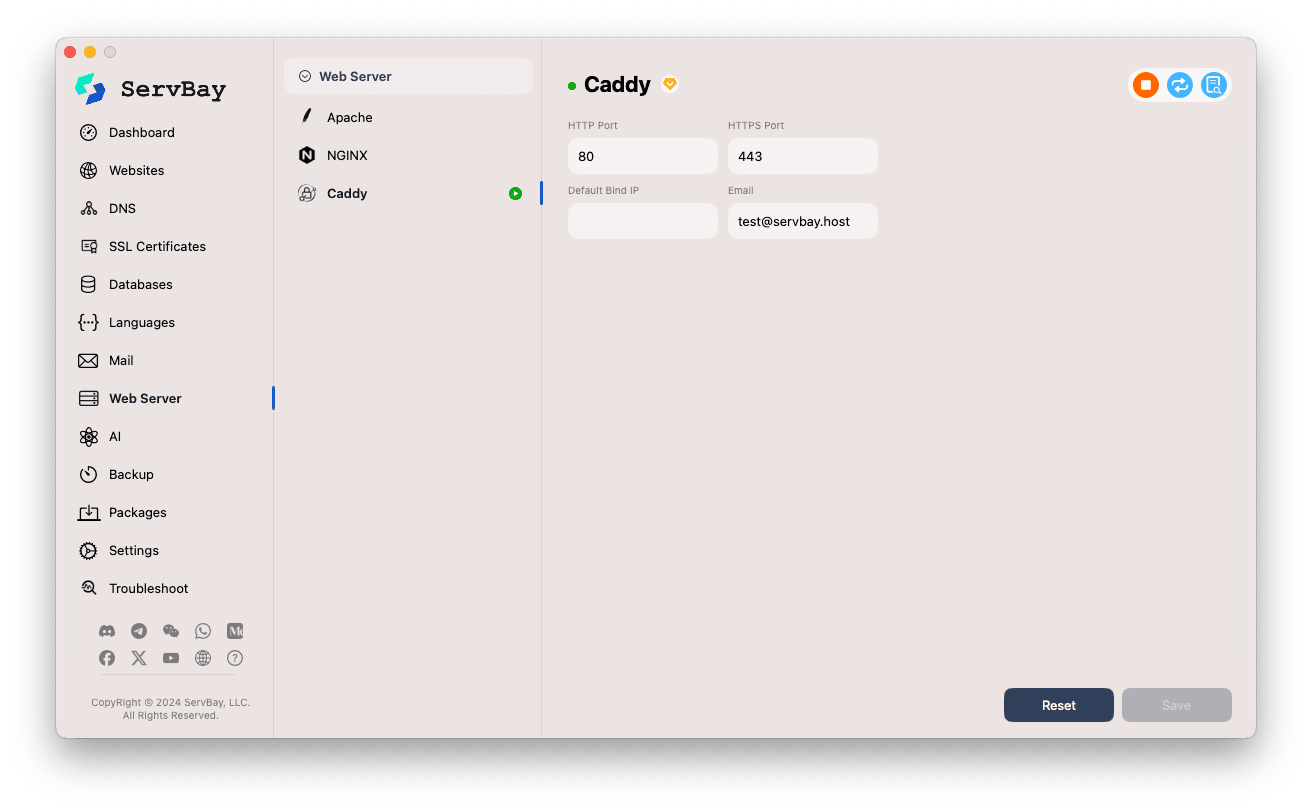
Key Configuration Options
Caddy follows a philosophy of simple configuration, so its global settings are minimal. Most options are configured per site using the Caddyfile. Through the ServBay interface, the following core global options are available:
- HTTP Port: The port Caddy listens to for HTTP traffic. Defaults to
80. Caddy usually redirects all HTTP requests to HTTPS automatically. - HTTPS Port: The port Caddy listens to for HTTPS connections. Defaults to
443. Caddy automatically manages TLS on this port. - Default Bind IP: The IP address Caddy listens on by default. If left blank, Caddy will typically listen on all available interfaces (
0.0.0.0or::). You can specify an IP address (such as127.0.0.1) to restrict access. - Email: The email address used for the ACME (Automatic Certificate Management Environment) protocol. [Extremely Important] Caddy uses this email to register and request SSL/TLS certificates from certificate authorities (like Let's Encrypt) for automatic HTTPS. Be sure to provide a real and valid email address so you can receive notifications about your certificates (such as renewal issues).
If you only use.servbay.localor other local domains for development, and do not intend to obtain certificates for public domains, this email is not strictly required, but entering it is still a good practice.
Core Features of Caddy
It’s important to note that most of Caddy’s powerful features (such as reverse proxy, load balancing, file serving, and automatic HTTPS) are primarily managed through its configuration file, the Caddyfile. When you add or edit a Website in ServBay and select Caddy as the server, ServBay generates and manages the necessary Caddyfile blocks for you in the background.
ServBay leverages Caddy’s automatic HTTPS functionality:
- For publicly accessible domains, Caddy will attempt to automatically obtain and renew Let's Encrypt certificates for you via the ACME protocol using your provided email.
- For local development domains (like ServBay’s default
.servbay.localor your custom local TLDs), Caddy will automatically generate and trust certificates signed by a local CA (ServBay User CA), providing a seamless local HTTPS development experience.
Saving and Resetting
- Reset: Click this button to restore Caddy’s global settings to ServBay’s default values.
- Save: Click this button to save any changes you make to Caddy’s configuration. After saving, if the Caddy service is running, ServBay will typically apply the changes automatically (which may require a brief restart of the service).
Important Notes
- This section configures Caddy’s global settings only. Most site-specific directives are configured under ServBay’s
Websitessection, and ServBay converts these into the appropriate Caddyfile entries. - If the Caddy service is not running (for example, if the interface says "Service Caddy is not enabled"), you can still edit and save your configuration. Your changes will take effect the next time you start the Caddy service. You can start Caddy from ServBay’s main panel or via the
Packagesmenu.
Summary
ServBay makes it simple and straightforward to configure Caddy Web Server’s global foundational settings. By setting the appropriate ports and the ACME email, you can take full advantage of Caddy’s ease of use and robust automatic HTTPS features, streamlining the deployment and management of your local—and, if applicable, public—sites.
